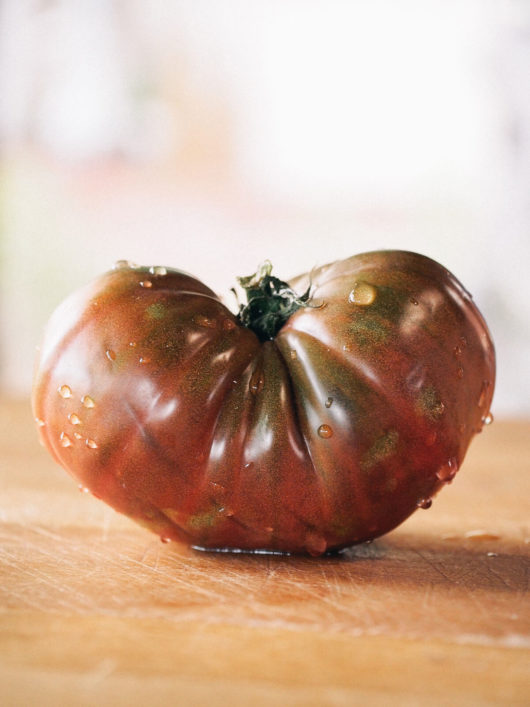
Tomato planting is something I look forward to every spring. I start counting the days from the time I sow my first seed to when I might have that first vine-ripened tomato in my hand, juices dripping down as I take a bite of the sweet, succulent flesh before it even makes it back to the kitchen.
If you've never tasted a homegrown tomato, you haven't truly lived. And if you've never started your own tomato plants from seed, you're definitely missing out — on the thousands and thousands of beautiful, colorful heirlooms that exist in this world.
Take a look! My only advice for choosing tomato seeds is to go with ones you've never heard of before, and to simply start with your favorite color! (I personally love purple and black tomatoes… it might be a mental thing, but I feel the darker the flesh, the smokier and richer it tastes.)
Tomatoes are fairly fuss-free. They don't require any special conditions to sprout and they grow relatively quickly. But once they start producing more foliage, they need a lot of love to perform their best — their best meaning lots of flowers and lots of fruit.
In gardening parlance, tomatoes are called heavy feeders; that is, they require a lot of nutrients. They're wild about fertilizer and before you even think about growing tomatoes, you should think about "growing" your soil first. Tomatoes like rich, amended soil teeming with worms and microbes.
Two key nutrients must be present for tomatoes to thrive: phosphorus, which promotes the growth of flowers and fruit, and calcium, which prevents blossom-end rot (that dreaded black sunken hole on the flower end of your calcium-deficient tomatoes). Providing these nutrients right from the start ensures you'll grow bigger tomatoes that will be the envy of all your neighbors.
To a lesser extent, tomato plants also need nitrogen, but too much nitrogen could result in a big, bushy, and green tomato plant with no flowers.
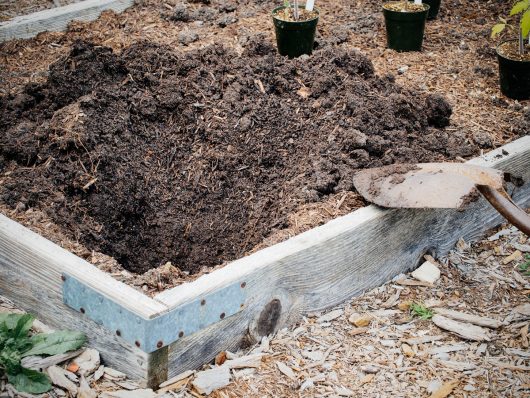
I start my tomato planting by preparing the bed first. Over an established but empty bed, I spread a 2-inch layer of well aged compost; sometimes it's homemade, if I have enough, and most of the time it's bagged compost.
(If you don't have access to a good, organic, and aged compost locally, Dr. Earth Natural Choice All Purpose Compost is a high-quality amendment that you can buy online. It's also available at some independent garden centers.)
On top of the compost, I apply an all-purpose fertilizer, such as Dr. Earth Premium Gold All Purpose Fertilizer (4-4-4). Those three numbers in parenthesis indicate the nutritional makeup of the fertilizer, also known as N-P-K, or nitrogen, phosphorus, and potassium. It's certainly not the only one you can use, but I like the Dr. Earth line as it's produced by a reputable company and made with organic ingredients.
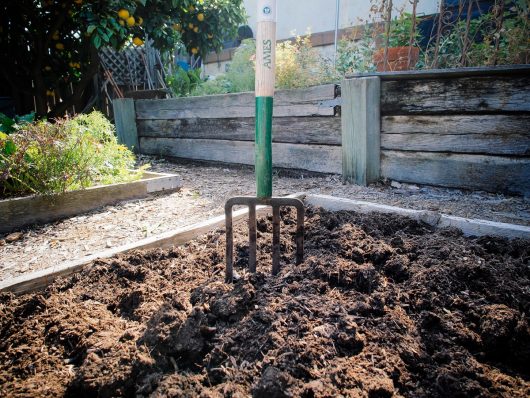
Once the compost and fertilizer are evenly spread across the bed, I dig them in with a spading fork (going only as deep as the fork), rake the soil smooth, and water well. I like to let the bed sit for a day or two for the soil to settle back in before I plant.
So, tomatoes. Let's get planting!
Generally, I start my seeds in late winter, move the seedlings into 4-inch pots in early spring, and depending on how things are going in the garden, they get moved again into gallon pots or they go straight in the ground. (Your seeding and planting schedule may vary with your particular climate, microclimate, and expected frost dates.)
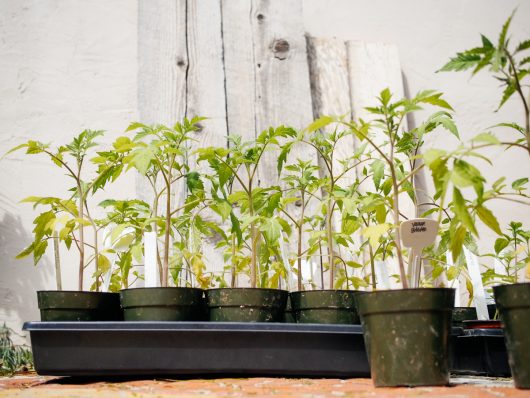
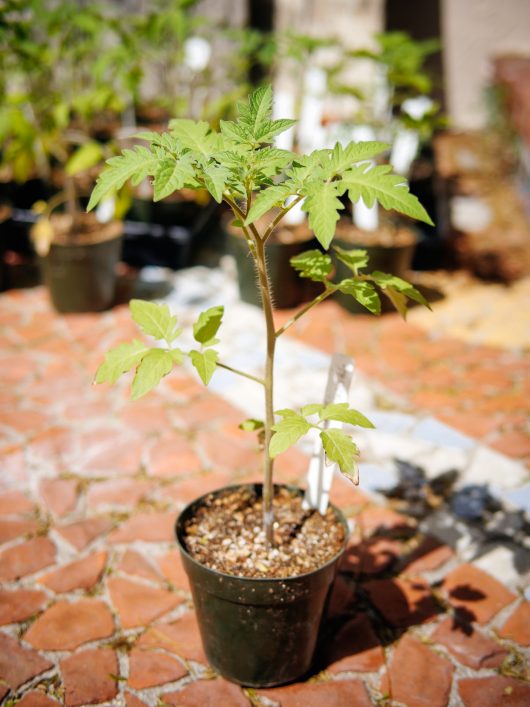
I always start with healthy plants about a foot tall, whether it's a foot tall in a 4-inch pot or a foot tall in a gallon pot. This fine specimen spent a week outside getting hardened off, and looks primed for the garden.
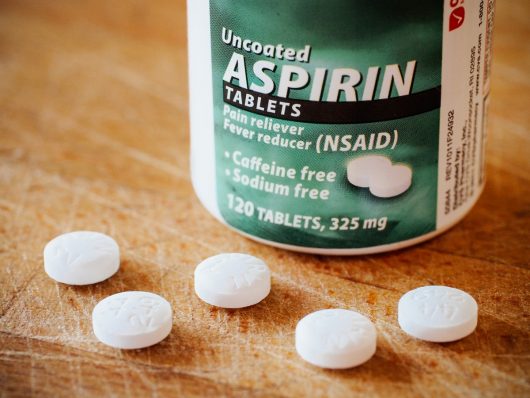
A couple of days before I transplant, I shower my tomato plants with aspirin spray to prepare them for the move. Aspirin (the same stuff you can find at the pharmacy) contains salicylic acid, a chemical compound that's naturally present in most plants.
Studies have found that in a tomato plant, salicylic acid (a plant hormone) is produced at high levels in response to a microbial attack on the plant. Oftentimes, this response happens too late in the natural cycle. But since we know salicylic acid triggers the plant's defense system, we can give our tomato seedlings a little immunity boost before they go in the garden and have to face all kinds of microbes, good and bad.
To make a foliar spray, dissolve a regular-strength aspirin tablet (325 mg) in a gallon-size sprayer or watering can. Try to find uncoated aspirin as it dissolves easier; no need for brand names, I looked for the cheapest aspirin at my local CVS and found a generic version on sale for 24 cents for a bottle of 120 tabs.
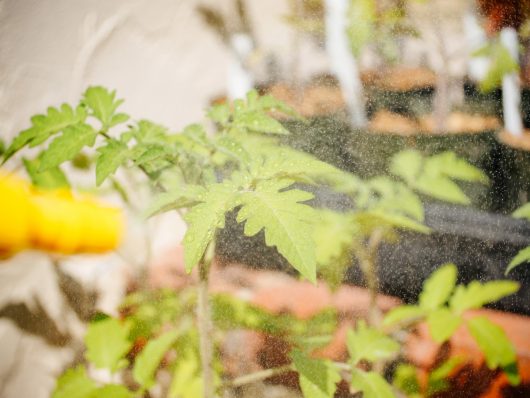
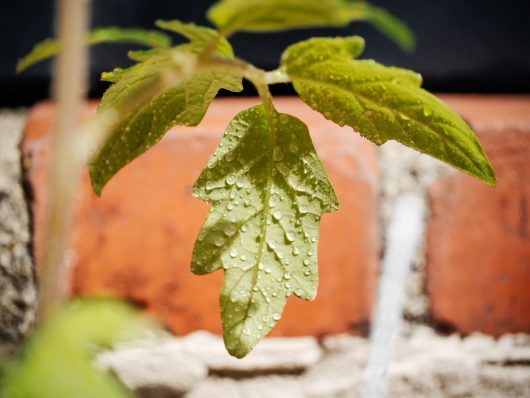
Thoroughly spray all the leaves, making sure to get the undersides.
After a couple of days, your tomatoes are ready for the dirt. Try to avoid transplanting in the middle of a glaringly sunny day or a ferociously windy day, which could add undue stress to the plant. Wait for a bit of cloud cover, or transplant in late afternoon when the sun is lower and your tomatoes have a chance to recover from their transplant shock.
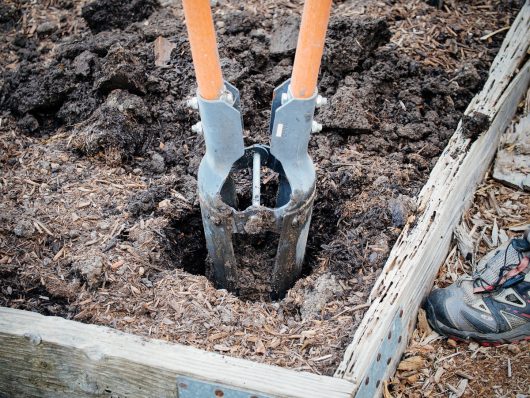
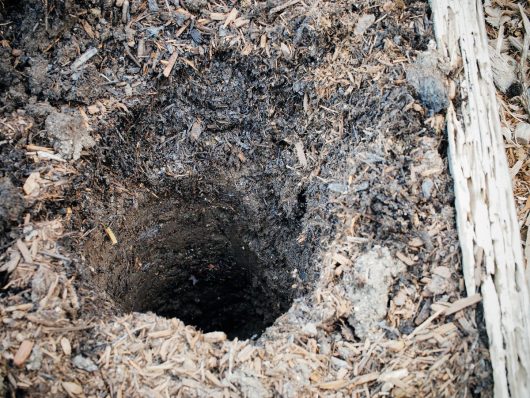
In our freshly prepared bed, dig a 12-inch-deep hole. You want enough room to throw a bunch of amendments down the hole as well as bury the stem up to its lowest set of leaves.
If you're transplanting a larger plant from a gallon-size container, there's no need to dig a 2-foot-deep hole; simply dig a 12-inch-deep trench and plant your tomato sideways.
Oh, and if you have a post hole digger, now is a good time to break it out as it makes the deep-hole-digging much easier… or at least, my husband made it look easy, after I'd painstakingly dug the first five holes with a shovel. But his post hole digger holes? Perfect, every time.
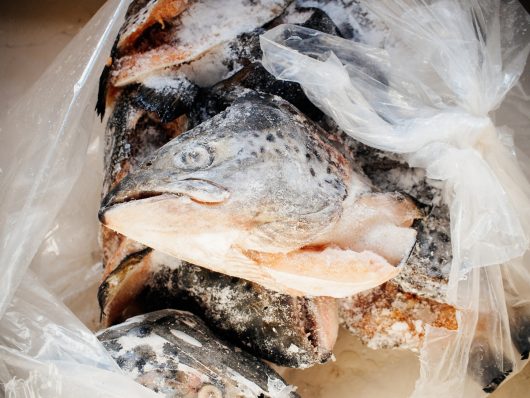
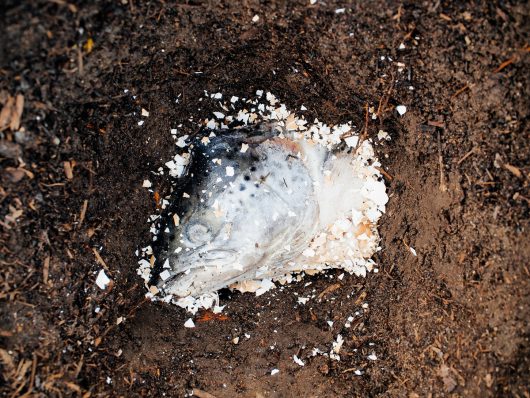
First down the hole: a fish head. I used to get mine from the local fish market for 90 cents a pound, but now I try to save and freeze the heads whenever I procure whole fish. If you're resourceful, you might even find them for free. Call around to restaurants, make friends with fishermen. I use pretty hefty heads that weigh about a pound each.
Growing up in a seafood-loving household, I remember watching my parents bury all kinds of seafood (fish heads included) in the garden, and growing some pretty remarkable things for living in the arid landscape of Southern Nevada. And maybe you've heard tales of people burying fish heads under their rosebushes or between rows of crops to fertilize their soil.
Fish heads are not merely folklore in the garden. They've been used as natural fertilizer for centuries all over the world, and in fact, the American Indian Squanto taught the Pilgrims how to sow seeds with a small fish.
Raw fish decays quickly in the ground, releasing nitrogen, phosphorus, calcium, and trace minerals to roots. And as we know, tomatoes especially love phosphorus and calcium!
But you don't have to limit yourself solely to fish heads. Fish guts, fish bones, and shrimp shells all work well too. Use whatever is cheap or free, I say. Buried a foot deep, they're not likely to be dug up by critters — and I have entire families of raccoons patrolling my property every night. (Personally, I think it's too much work for them when they have a veritable buffet of trash cans lined up on the street.)

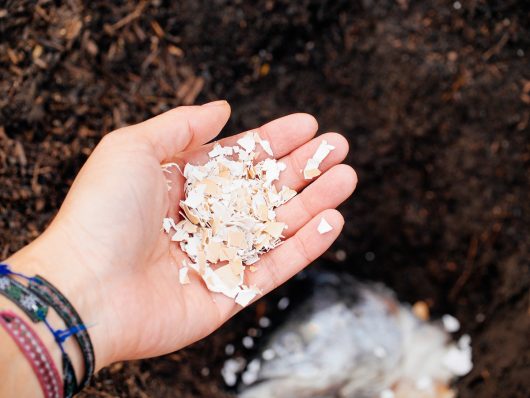
Next to go down the hole are two aspirin tabs (immunity boost) and a handful of crushed eggshells (calcium boost).
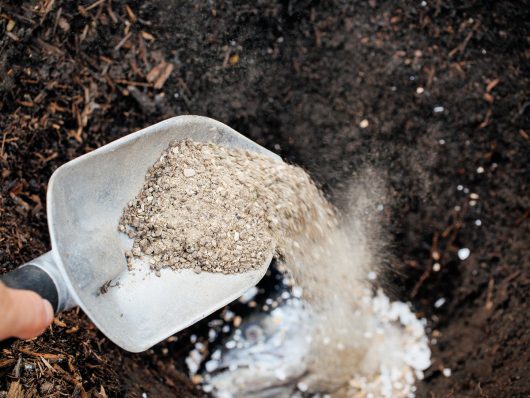
Then, I add about a half-cup of fertilizer specially formulated for tomatoes — like Dr. Earth HomeGrown Tomato, Vegetable & Herb Fertilizer (5-7-3) — and about a quarter-cup of bone meal, which is a good organic source of phosphorus and calcium. No measuring cups needed, I just eyeball everything in my trowel.
I cover these amendments with a couple inches of soil, then water them in. Before the tomato plant goes in, pinch off the lowest two or three sets of leaves on the stem.
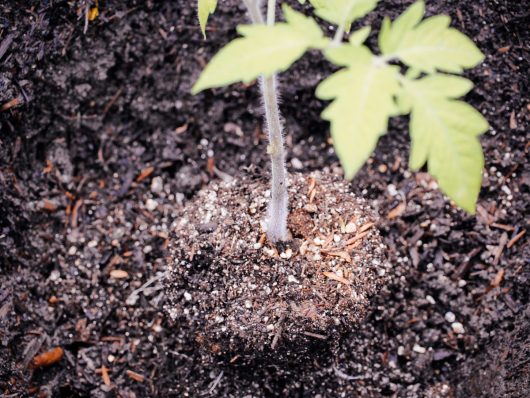
Gently loosen the root ball with your hands and lower the plant down the hole. The soil line should be right at the last set of leaves; the rest of the stem gets buried, as new roots will emerge from any part of the stem below ground.
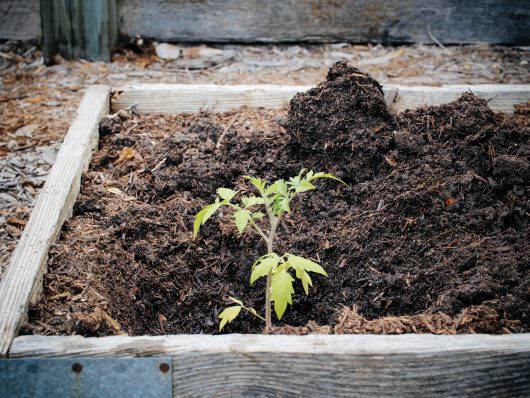
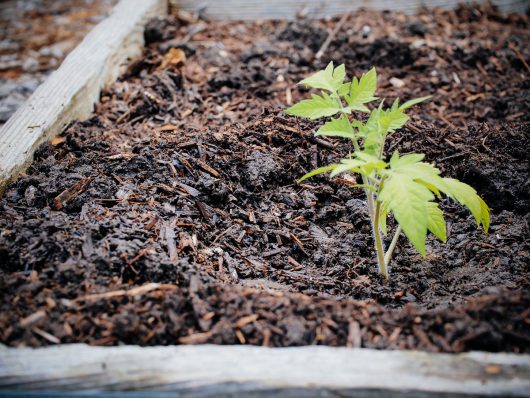
Backfill the hole with soil (avoid tamping it down vigorously with your hands or trowel, as it will settle naturally) and create a small well around the plant.
Water deeply; you want the water to reach the very bottom of the roots, which are now 8 inches below the surface. I use upwards of a gallon of water per plant, letting the water thoroughly drain into the soil between each soak.

After that initial watering, your plants will only need a deep watering once or twice a week, depending on your climate. A moisture meter like this one is a good, cheap investment to make sure you aren't underwatering or overwatering. I generally water tomatoes when the first 3 inches of soil feels dry to the touch; remember, their roots are waaaay down there, especially as the season goes on.
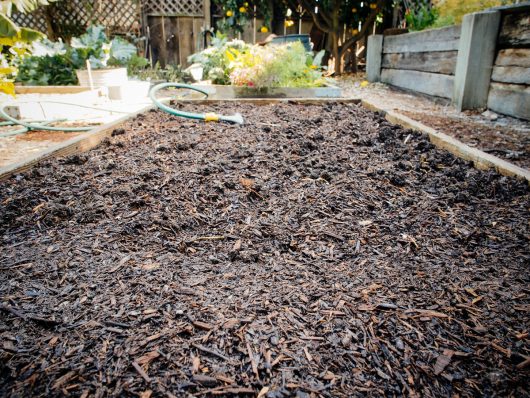
Space tomato plants at least 2 to 3 feet apart so they have plenty of air flow between the foliage. I usually wait until my plants are at least a foot tall (and the leaves are further from the soil) before I mulch the bed with straw. Mulch holds in moisture, and any dampness on or near the leaves can lead to disease, especially on a susceptible young plant.
For staking options, I personally like the Florida weave method if I'm growing rows of tomato plants, but plenty of caging options exist. If you plan to grow tomatoes year after year, invest in hefty, sturdy cages, and not the cheap, flimsy metal ones that look like upside-down cones. Stake your plants sooner than later, before the roots have a chance to sprawl and you risk damaging and disturbing them.
Feed your plants throughout the season with your preferred fertilizer; I alternate between tomato fertilizer and fish fertilizer, and always see accelerated growth with loads of blossoms.
Come summer, those once-little seedlings will turn into thick, verdant vines laden with luscious tomatoes!
Gardening Sources
 Turn on your JavaScript to view content
Dr. Earth Natural Choice All Purpose Compost | Dr. Earth Premium Gold All Purpose Fertilizer | Ames 4-Tine Forged Spading Fork | GeriCare Uncoated Aspirin | Chapin 1-Gallon Home and Garden Sprayer | Fiskars Steel Posthole Digger | Dr. Earth HomeGrown Tomato, Vegetable & Herb Fertilizer | Dr. Earth Premium Bone Meal | Dr. Meter Moisture Sensor | Neptune's Harvest Organic Hydrolized Fish & Seaweed Fertilizer
This post updated from an article that originally appeared on March 31, 2014.
The post Grow Bigger and Better Tomatoes This Summer! appeared first on Garden Betty.
Spring is here! And to help you figure out what to do with all those weird vegetables and parts you thought you couldn't eat, The CSA Cookbook makes an excellent addition to your cooking or gardening library.
from Garden Betty https://ift.tt/2GP763O
No comments:
Post a Comment